How to Steam Milk for Latte Art at Home
By the dialed team · 4 min read · Updated 2026-04-11
Milk steaming is the one home-barista skill that resists faking. You can dial in a shot by the numbers, but a clean pour comes down to the sound and feel of the milk in your hand. The mechanics are simple, though, and a modest machine can manage it once you slow down.
Two separate things happen while you steam, and most beginners blur them into one. Pull them apart and everything downstream gets easier.
Stretch first, then texture
The first job is stretching, which just means adding air. With the steam tip sitting right at the surface, you want a steady hiss, like paper tearing slowly. Each hiss folds in a little air. A flat white needs only a second or two of it; a cappuccino needs longer. Get your air in early, while the milk is still cold, because it stops incorporating cleanly once the milk warms past body temperature.
The second job is texturing. Sink the tip a few millimeters deeper so the surface seals and the milk begins to spin. That whirlpool pulls the big bubbles down and tears them into tiny ones. No new air goes in now; you are only refining what you already made into something smooth.
Pick a pitcher, fill it to the spout
Match the pitcher to the drink. Cold milk should reach roughly the base of the spout, which leaves room for the foam to climb. Too much empty pitcher and the milk sits too low for the tip to reach a good depth; too little and it spills over the lip before it is warm.
Shape counts as much as size. A jug with a defined, slightly pointed spout lets you place the milk exactly where you want it, and placement is most of latte art. A wide, rounded lip pours in a blob instead. Stainless steel is the standard here, partly because you can read the temperature straight through the wall.
Steaming pitchers, latte-art spouts

Eddy Steaming Pitcher

LUCCA Frothing Pitcher
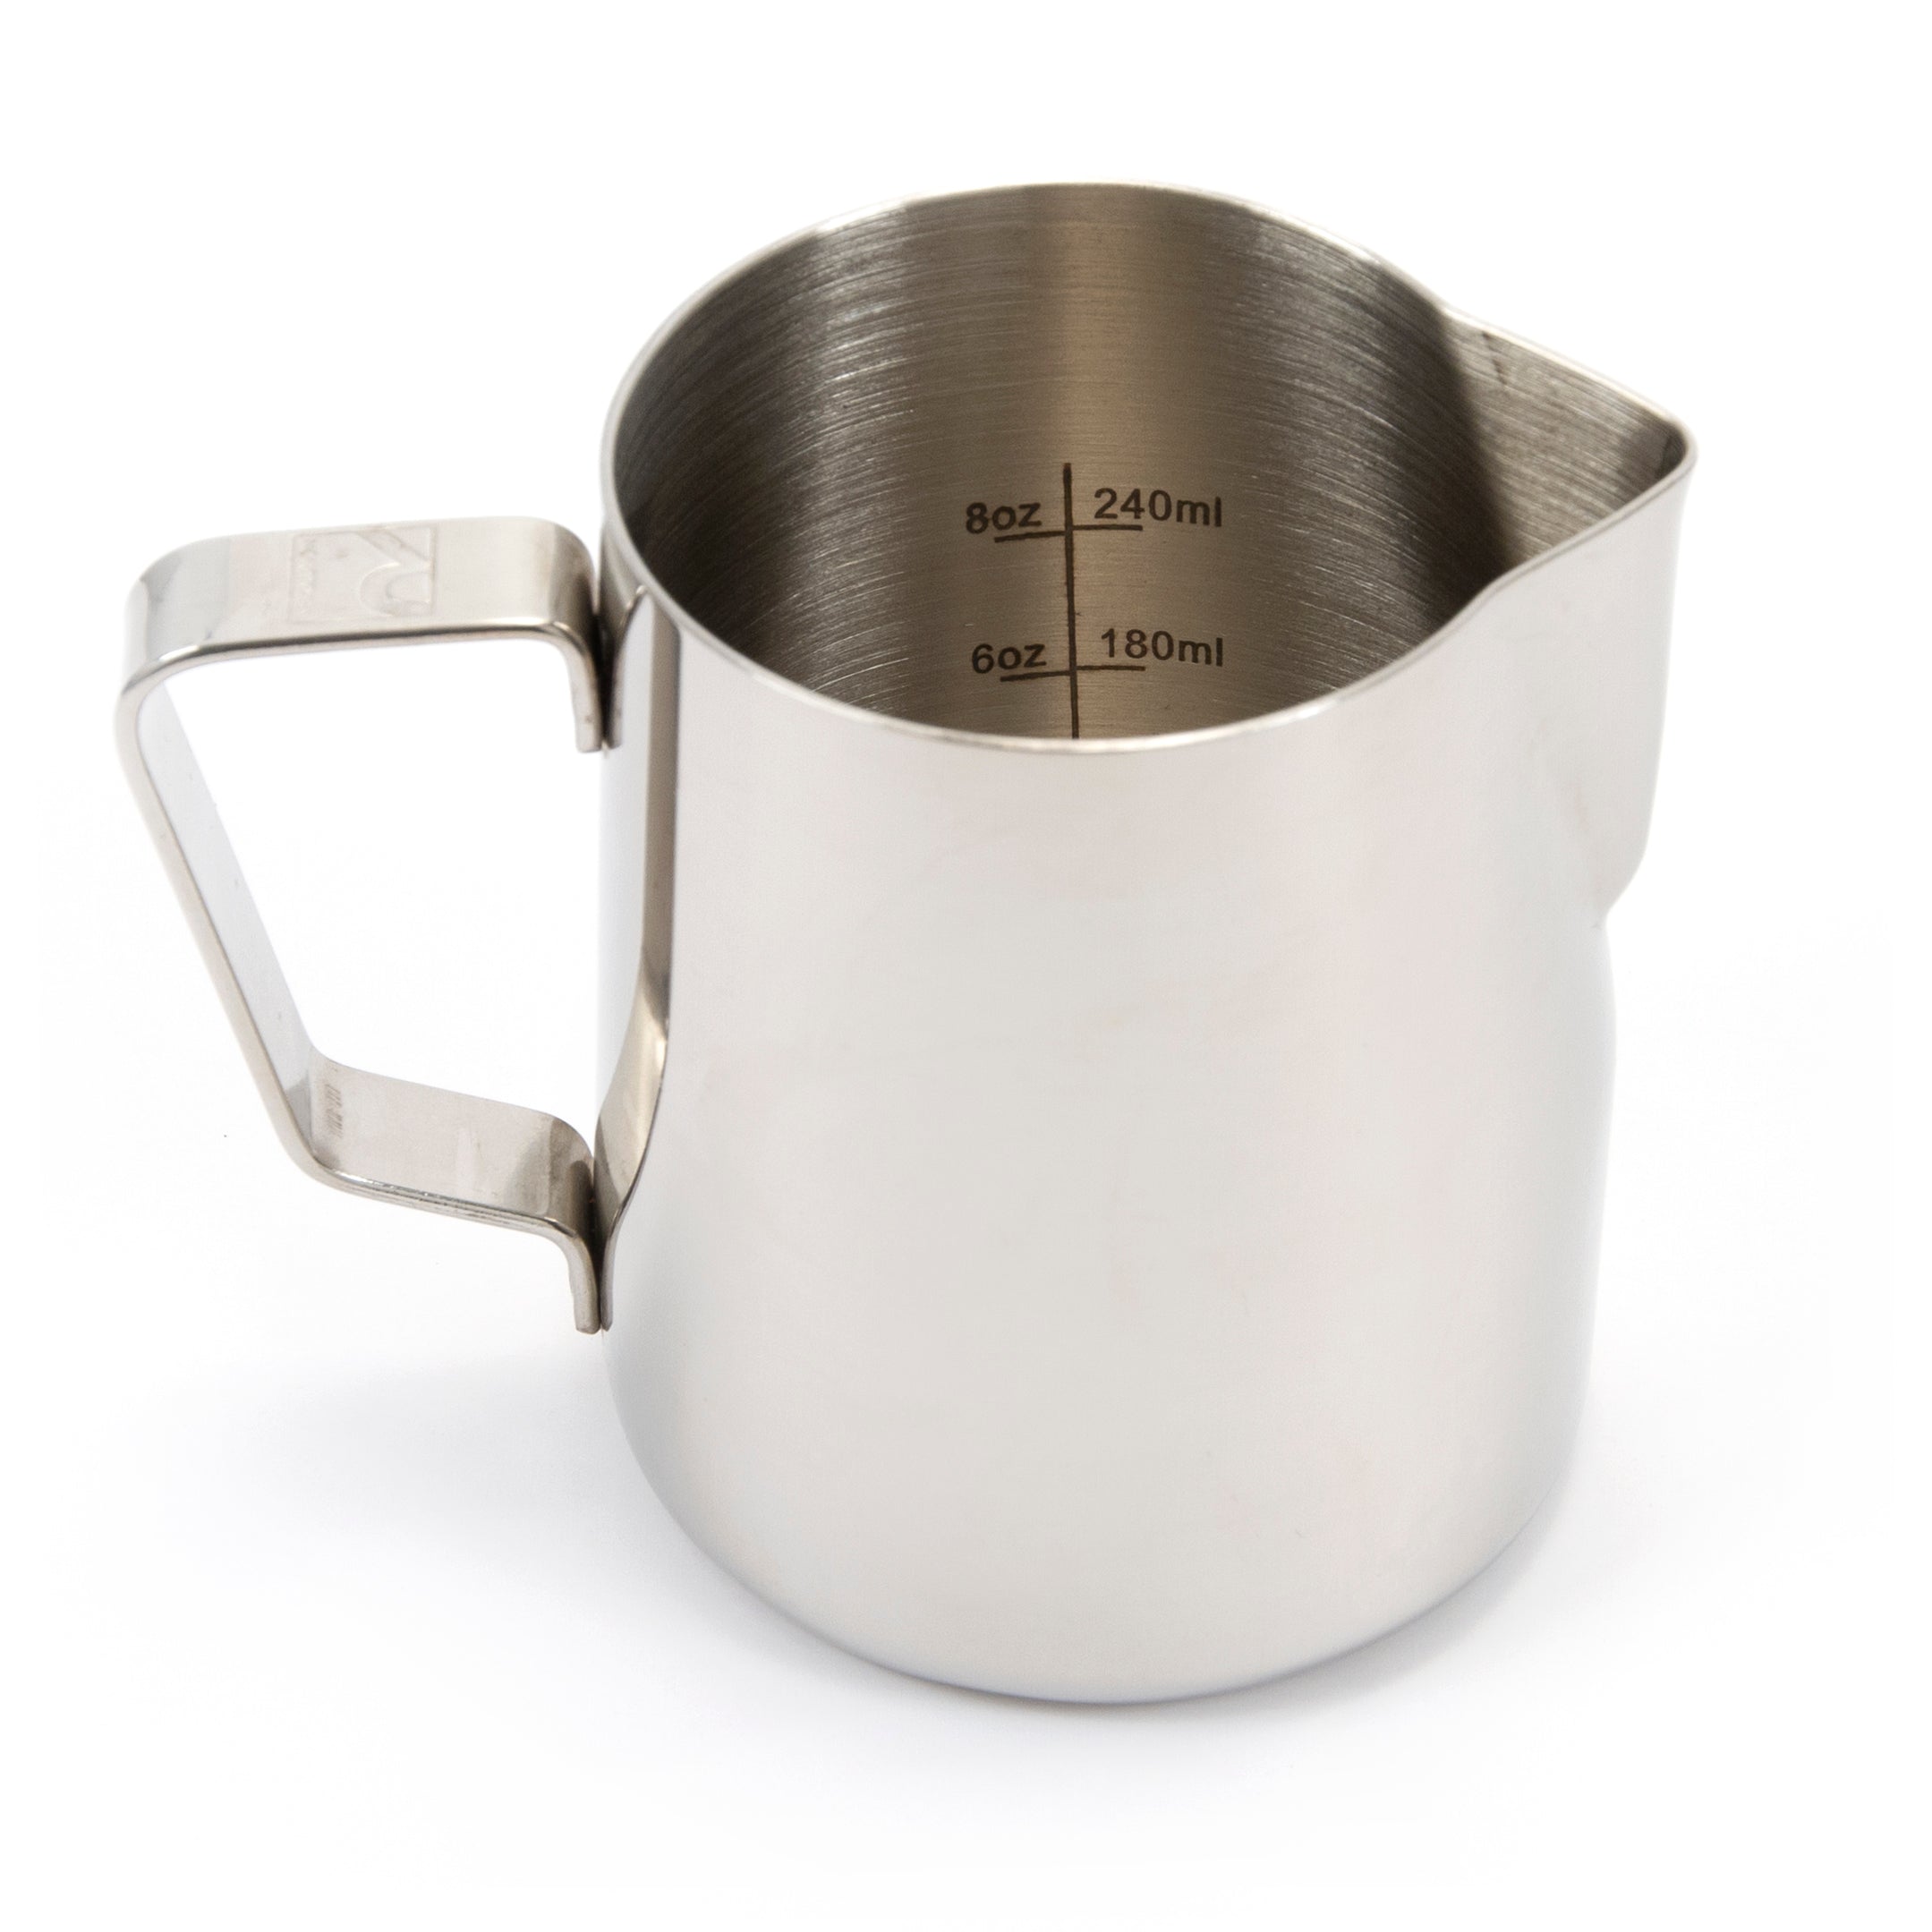
Revolution Stainless Steel Steaming Pitcher - 12 oz

Normcore Handleless Milk Pitcher – Stainless Steel Latte Art Jug (450ml / 600ml)
Stop at 60 to 65 C
Aim for 60 to 65 C (140 to 149 F). In that band whole milk tastes sweetest, its lactose coming through before anything cooks. Push past about 70 C and it cooks: the flavor goes flat and sulfurous, and the foam slumps in the cup.
Learn to hit this by feel. Cup the base of the pitcher as you steam, and the instant it turns too hot to hold, you are within a couple of degrees of the ceiling, so cut the steam. A clip-on thermometer removes the doubt for the first few weeks, then rides along as a backup once your hand learns the range.
Thermometers, cheapest first


Chase microfoam, kill the bubbles
Microfoam is milk and air blended so finely that no bubbles show. It looks like wet paint and moves as one liquid, foam and milk together. That is what lets you pour a design rather than spoon foam on top. Big bubbles do the reverse: they ride the surface, burst mid-pour, and leave holes in the pattern.
When the steaming stops, rap the pitcher on the counter once or twice to pop any surface bubbles, then swirl hard to keep everything glossy and folded together. If it separates while it waits, swirl again right before you pour. Milk with a shine to it is ready; milk wearing a dry, foamy cap is not.
Tight-spout jugs for clean pours

Precision Milk Jug / Pitcher - Orange

Precision Stainless Steel Milk Jug / Pitcher

Precision Milk Jugs - Yellow

Stainless Steel Milk Jug With Round Spout - 16.5oz / 490ml
Good questions
›Why do I keep getting big bubbles instead of microfoam?
Usually too much air added too late. Keep the tip at the surface for only the first second or two, then submerge it to start the whirlpool. If you still hear hissing halfway through, you are adding air when you should be texturing, and those late bubbles never break down.
›Does plant milk steam the same way?
Close, but the margin is narrower. Barista versions of oat and soy are built to foam, with the added protein or stabilizers that standard cartons skip. Steam a touch cooler, around 55 to 60 C, since plant milks scorch and split more readily than dairy.
New gear, real prices, no hype
Occasional emails when something genuinely good lands or drops in price.